This results in a really nice marble/crackle look/texture. The paper will be a bit stiffer and a touch more brittle than normal paper, and of course will have much more texture.
Feel free to play around with multiple colors and density of paint to water for different effects.
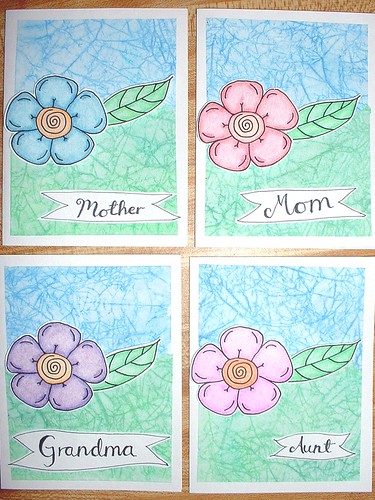
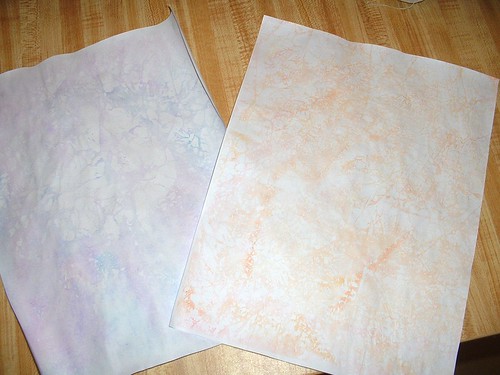
I used this method to create the background papers in these cards:
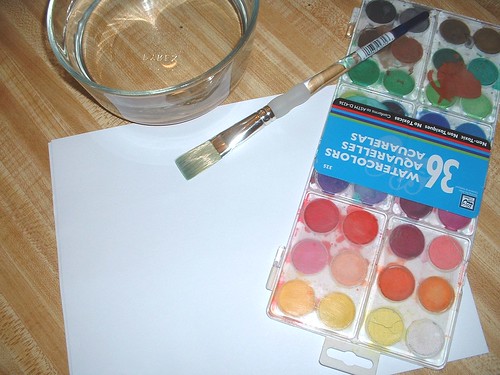
Gather your materials: printer paper, a bowl of water, a big brush, and watercolors:
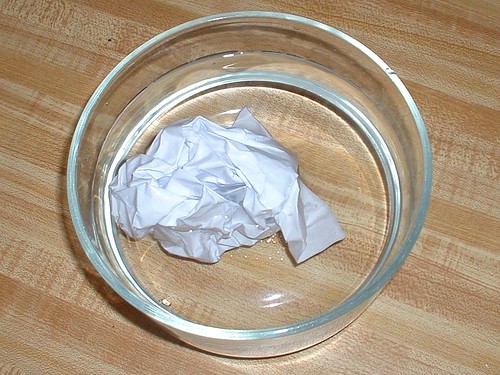
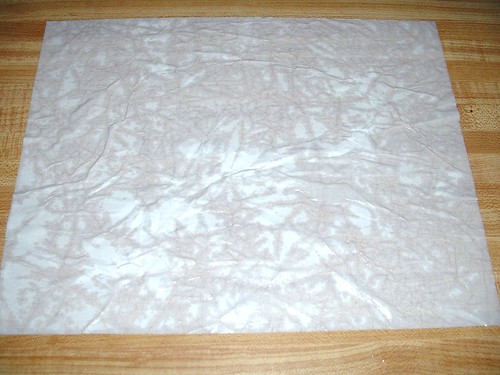
Take a sheet of paper and crumple it up nice and tight:

Quickly dip it in the water, making sure it is fully submerged, then remove it. Do this quickly; you don't want it to get TOO wet. (You will notice that in this photo the ball is beginning to pull apart, I let it sit in the water way too long to take the photo.)
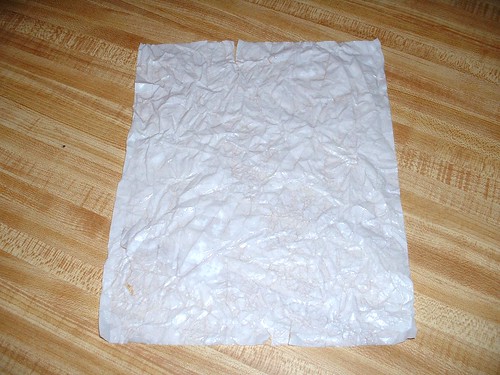
Take it out and gently squeeze the water out, then VERY CAREFULLY uncrumple the paper and flatten it on the table. If it starts to pull apart and rip too much it's too wet; you might be better off starting over.

This paper is way too wet; see how it tore while I was uncrumpling it? And you can't see any dry spots.
You want your paper to look more like this, with lots of dry spots. At this point, you can blot the paper with a towel if you would like.
Start painting, using as little water on your brush as possible. The more pigment, the more saturated your page color will be.
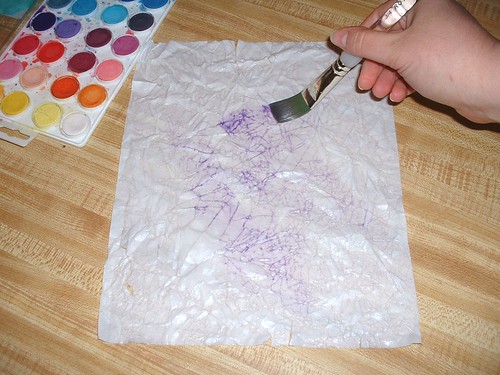
After painting, the pigment will be lighter than it appears when wet. It will still be darker along the crease lines, making the marble texture. Allow to dry.
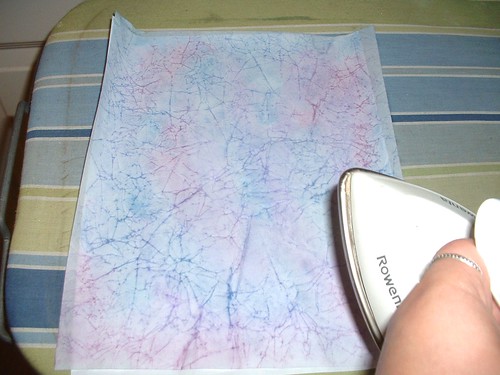
If you are impatient like me you can place the painted paper paint side down on a clean sheet of paper and carefully iron it. I finish all my papers like this. The paper will be a touch brittle and will want to curl. Be firm but don't let the iron stay in one place too long or you risk burning your paper.
(You will notice this is a different pattern than earlier. The first piece was way too wet and disintegrated when I tried to pick it up.)
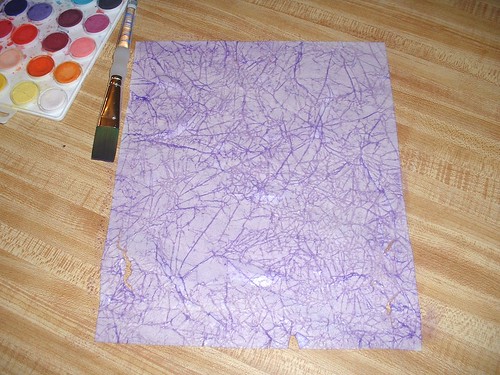
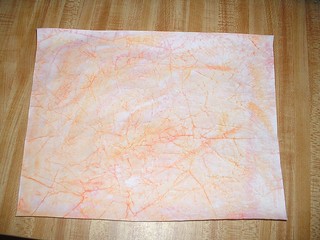
Finished paper. The more paint you use, the more saturated your page will be. Also feel free to use multiple colors for a more tie-dyed look.

A bonus of ironing is that the paper you use to protect your ironing board will have cool patterns too!
No comments:
Post a Comment