Saturday, August 27, 2011

I think I may have just finished the coolest (and easiest) craft ever.

Ok, maybe not ever, but this turned out so awesome, I love it!

silhouette painting 08-27-11

Isn't that awesome looking?

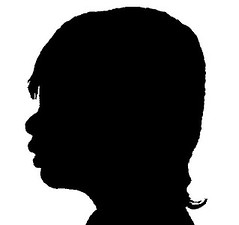
I used this tutorial to make the silhouette and ended up with this:

t silhouette 08-27-11

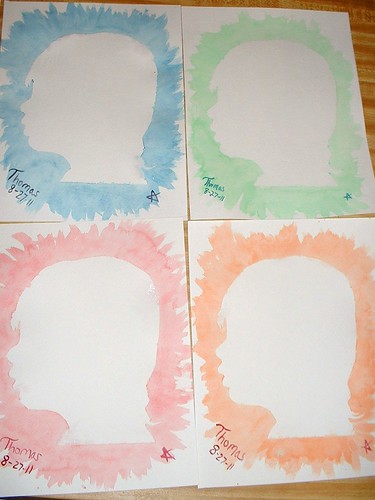
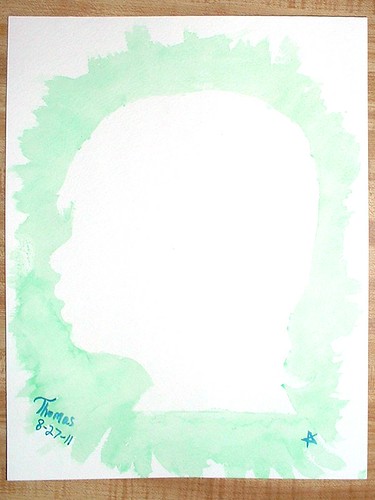
then I printed it, carefully cut it out, and stuck it to a piece of watercolor paper, then I just quickly brushed all along the edge with paint!
Once it dried a little I took the silhouette off and touched up the edges a bit, and ta da!

I made this for my mother who is visiting this weekend. But in the morning I'm going to make a few more to give to my grandmother and the Llama Poppa's mother, and another for us!


{edit}

here they all are together. I am so happy with these! I sent them off with my mother today to be framed and so everybody can choose the one they want.

silhouette tutorial 7

Sunday, August 14, 2011

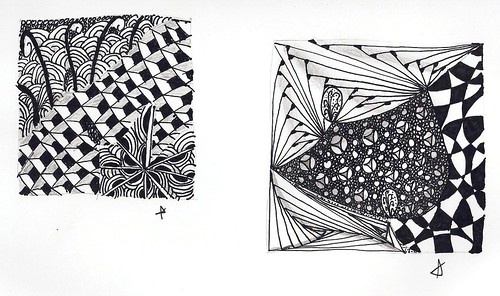
Zentangle

I know this isn't strictly Llama related, but I think I have a new obsession.

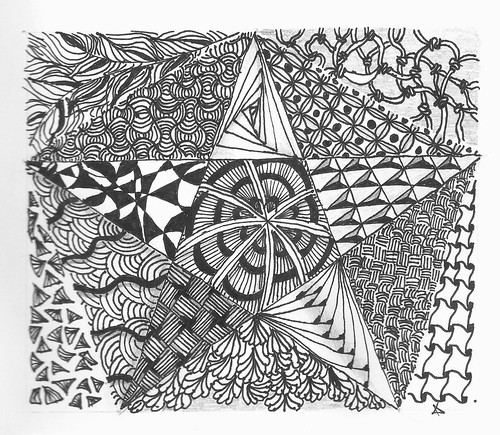
star zentangle

Zentangle its a type of doodling using a step by step process to create complicated looking 'tangles' combined together to create a 'zentangle' only using a simple pen, and no erasing. The step by step and black and white nature is supposed to be very meditative and calming, hence the 'zen'. I had an amazon gift card to spend, so I got Sandy Bartholomew's Totally Tangled, and I LOVE IT! There are so many tangles and ideas, I really want to get her other books now too.

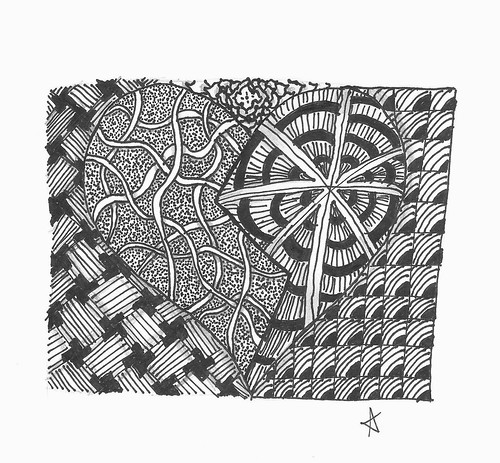
heart zentangle

I have gone through pages and pages in my sketchbook already and its only been about a week and a half since I discovered it. I find them so fun, and yes, meditative. I know it sounds kinda woo, but making these drawings really is so meditative and relaxing. and the result is always so nifty. If I'm having a hard or stressful day with the Llama, I find if I take a few minutes (while he is eating lunch or dinner) to draw, that I feel not necessarily refreshed, but more mellow, and better able to cope whatever frustrations come my way.

zentangle bookmark 003

I've cut up a sheet of watercolor paper and am working on a bunch of bookmarks now. I think that I will be adding a tangled bookmark to the holiday gifts this year, so much of our family are readers that I know they will be appreciated.

zentangle bookmark 002

I only just received Sandy's book on Thursday, most of my tangling so far has been done using resources from the internet, so it is totally doable even without all the official accoutrement! Heck you don't even need any of the fancy little squares or expensive pens if you can't get them, a lot of my tangles have been on regular printer paper using a sharpie ultra fine! (Although I do admit that the Sakura pens make a much finer line, with no bleeding like you can get with the sharpie pens.)

zentangle bookmark 005

For more info in zentangles check out the zentangle blog or thezentangle patterns website and my favorite zentangle teacher/blogger/author Sandy Bartholomew at her blog (seriously, buy her books if you are interested in Zentangle, she is really awesome)

first zentangles

zentangle bookmark 004

Saturday, August 6, 2011

art envelopes

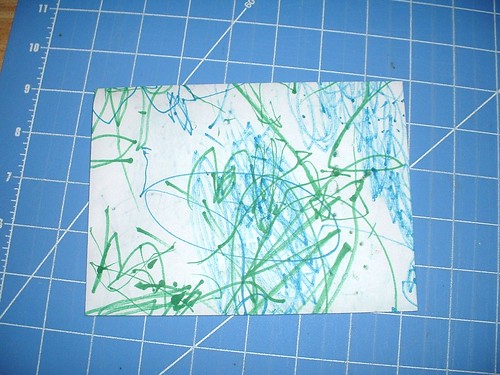
Lately the Llama has been on a coloring kick, every day he wants so color and can crank out several sheets of Llama art a day!
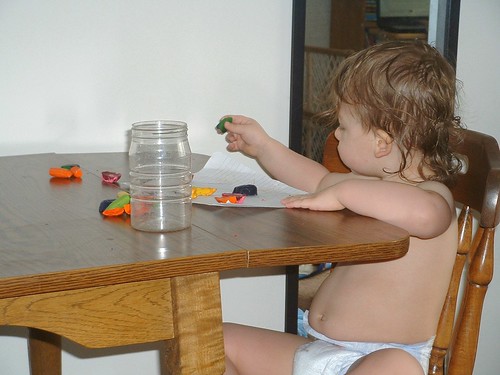
coloring 07-17-11 2

Needless to say, I am running out of room to display it all! But then I had a great idea, why not turn all that awesome Llama art into envelopes to use when we send letters and handmade cards? So I did!
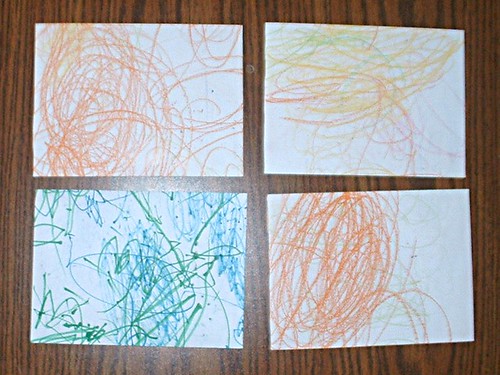
tommy envelopes 08-06-11

It's a super simple process, and I'll show you how to do it too!

First you will need an envelope template. Since we make our cards using 9 x 12 watercolor paper cut in half (making 6 x 4 1/2 folded cards) I decided to make A6 envelopes (4 3/4 x 6 1/2). You can make any size you want, just be sure that it will go through the post without any extra charge (go here to see the sizing rules for first class letters).

First, gather your tools: you will need a piece of 8 1/2 x 11 printer paper, a ruler, a pencil and some scissors. You may also want a piece of 8 1/2 x 11 cardstock to use for your final template.
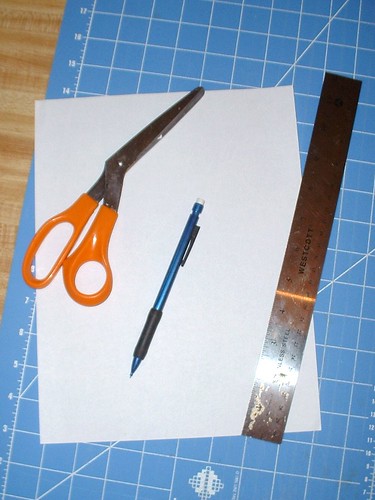
envelope template tutorial 08-06-11 1


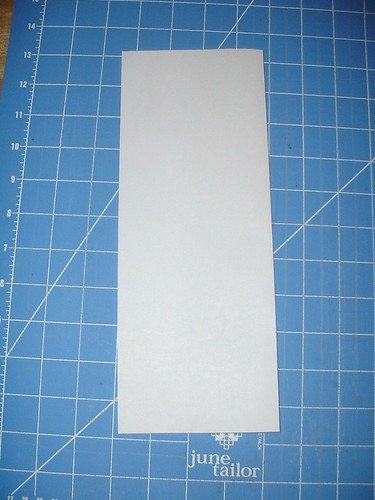
Fold your paper in half the long way with the fold on your right.
envelope template tutorial 08-06-11 2


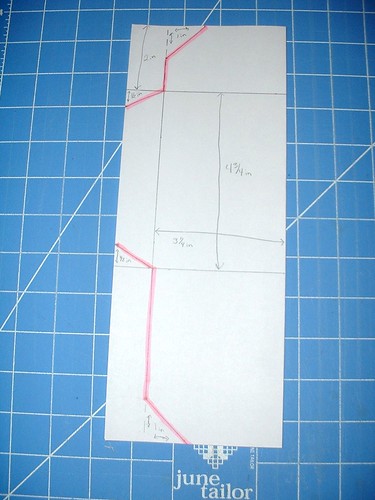
Now measure and draw your guide lines.
envelope template tutorial 08-06-11 3

*First draw a horizontal line 2 inches from the top.
*Next draw a parallel line 4 3/4 inches down from your first line.
*Now draw a vertical line 3 1/4 inches in from the folded edge.
*The rectangle you just created is the 'body' of your envelope, the 1 x 4 3/4 inch rectangle to the side is for the side flaps, and the large rectangles on top and bottom are for the back and top flaps.
*To make the flaps angled, mark 1 inch on the side and top of the left hand corner of the top flap, and draw a line connecting them; do the same for the side and bottom of the back flap. For the side flaps make a mark 1/2 inch down from the top, and 1/2 inch up from the bottom edge, and draw an angled line connecting the mark to the corner of the envelope body. (If this step is confusing, look at the picture for help.)
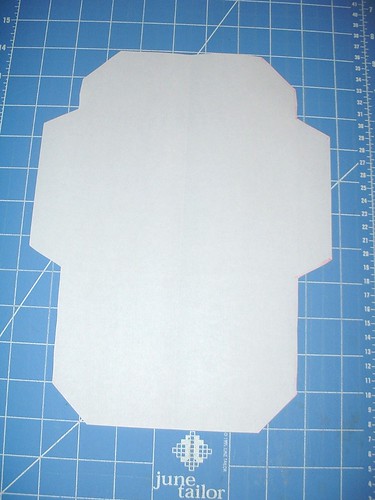
* Cut both layers along the highlighted line, unfold and you have your template! You may want to trace this onto a piece of cardstock for a sturdier and longer lasting template.
envelope template tutorial 08-06-11 4


***

Now to make an envelope:
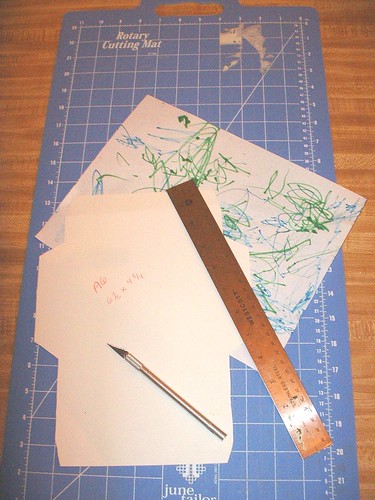
Gather your materials, your paper, a ruler, your template, scissors, or an exacto knife and cutting mat, a glue stick, and (optional) a bone folder
envelope tutorial 08-06-11 1


First lay out your paper and place the template over it. (If you are using a catalog or magazine page your template will likely be larger than your paper; be sure that you have at least 1/2 inch on each side for the flaps, and that the paper is no more than 1 inch short: center the template.)
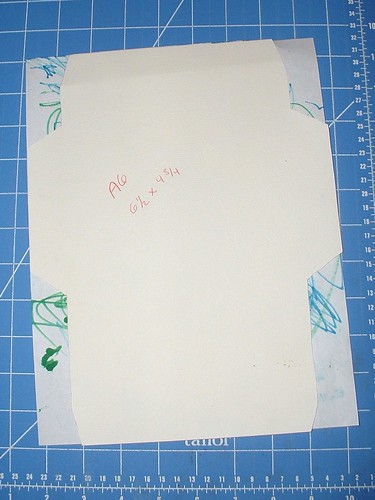
envelope tutorial 08-06-11 2


Now either trace your template and cut out with your scissors, or use your exacto knife.
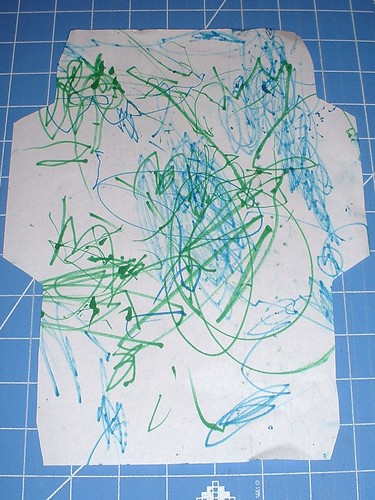
envelope tutorial 08-06-11 3


Place your ruler along the inside edge of each flap and use your bone folder to score your fold lines.
(I don’t have a bone folder but I find that the back edge of my exacto knife works just as well if I use very light pressure.)
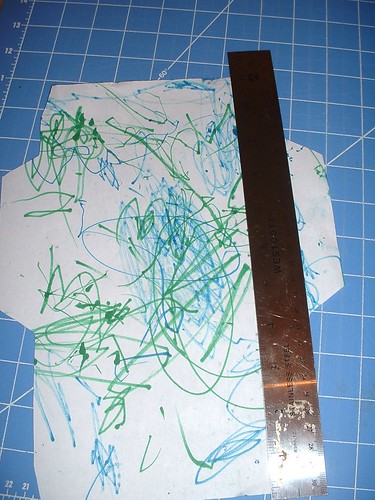
envelope tutorial 08-06-11 4

Fold along your score lines.
Use your glue stick on the two side flaps, and stick your back flap in place.
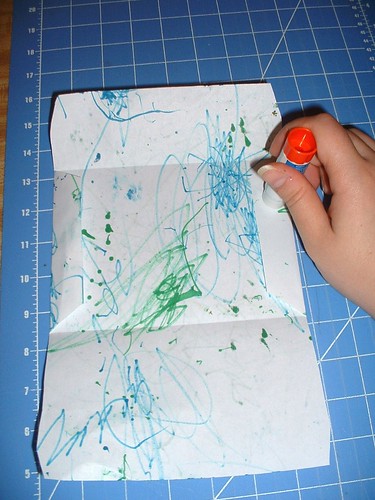
envelope tutorial 08-06-11 5

Ta Da! You now have an awesome custom envelope.
envelope tutorial 08-06-11 6

When you are ready to send it just use your glue stick on the flap to seal it and some white labels to write the address.
Wednesday, August 3, 2011

Sign it

The Llama continues to learn more and more signs, lately he's been doing signs that even the Llama Papa and I don't know!

Here are some of the signs he has learned since my last update

Bath
Blocks
Brush hair
Bunny
Car
Carrot
Chicken
Clean up
Clothes
Corn
Cracker
Dog
Fish
Fruit
Grapes
Happy
Mouse
Pants
Pig
Potty
Red
Sheep
Shirt
Sit

That's 57 signs! Wow! No wonder the Llama Papa and I are having trouble keeping up!
Related Posts Plugin for WordPress, Blogger...