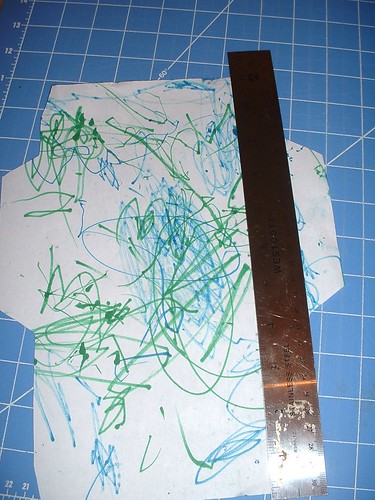
Needless to say, I am running out of room to display it all! But then I had a great idea, why not turn all that awesome Llama art into envelopes to use when we send letters and handmade cards? So I did!

It's a super simple process, and I'll show you how to do it too!
First you will need an envelope template. Since we make our cards using 9 x 12 watercolor paper cut in half (making 6 x 4 1/2 folded cards) I decided to make A6 envelopes (4 3/4 x 6 1/2). You can make any size you want, just be sure that it will go through the post without any extra charge (go here to see the sizing rules for first class letters).
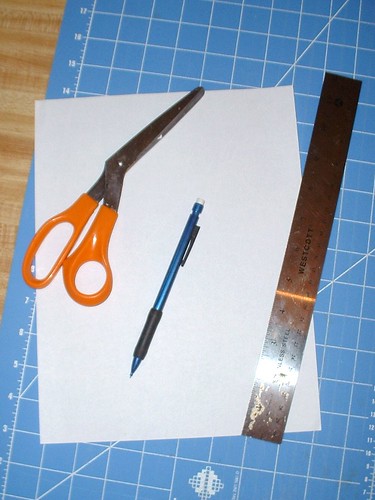
First, gather your tools: you will need a piece of 8 1/2 x 11 printer paper, a ruler, a pencil and some scissors. You may also want a piece of 8 1/2 x 11 cardstock to use for your final template.
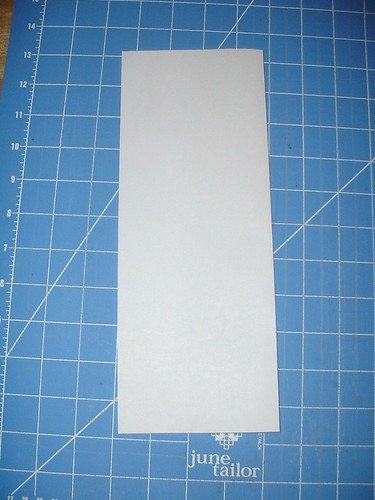
Fold your paper in half the long way with the fold on your right.
Now measure and draw your guide lines.
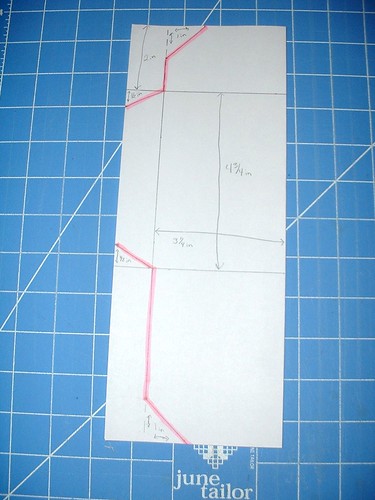
*First draw a horizontal line 2 inches from the top.
*Next draw a parallel line 4 3/4 inches down from your first line.
*Now draw a vertical line 3 1/4 inches in from the folded edge.
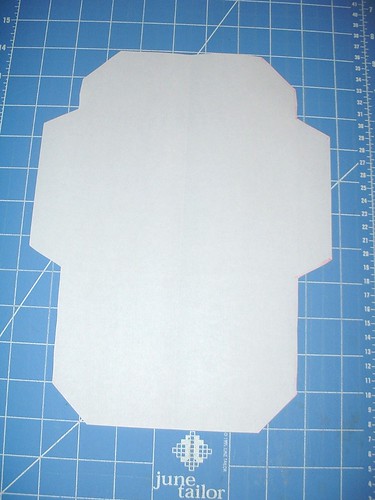
*The rectangle you just created is the 'body' of your envelope, the 1 x 4 3/4 inch rectangle to the side is for the side flaps, and the large rectangles on top and bottom are for the back and top flaps.
*To make the flaps angled, mark 1 inch on the side and top of the left hand corner of the top flap, and draw a line connecting them; do the same for the side and bottom of the back flap. For the side flaps make a mark 1/2 inch down from the top, and 1/2 inch up from the bottom edge, and draw an angled line connecting the mark to the corner of the envelope body. (If this step is confusing, look at the picture for help.)
* Cut both layers along the highlighted line, unfold and you have your template! You may want to trace this onto a piece of cardstock for a sturdier and longer lasting template.
***
Now to make an envelope:
Gather your materials, your paper, a ruler, your template, scissors, or an exacto knife and cutting mat, a glue stick, and (optional) a bone folder
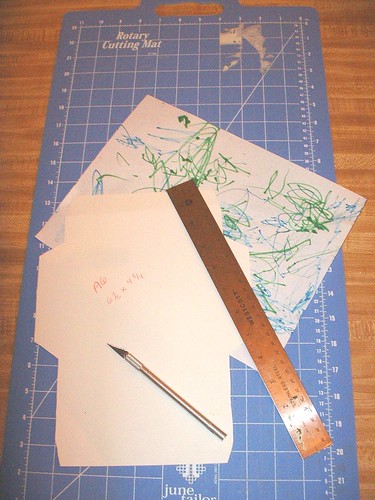
First lay out your paper and place the template over it. (If you are using a catalog or magazine page your template will likely be larger than your paper; be sure that you have at least 1/2 inch on each side for the flaps, and that the paper is no more than 1 inch short: center the template.)
Now either trace your template and cut out with your scissors, or use your exacto knife.
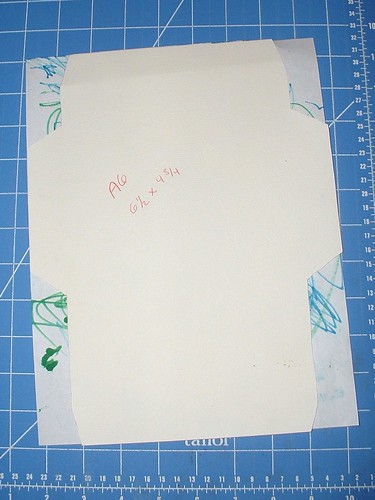
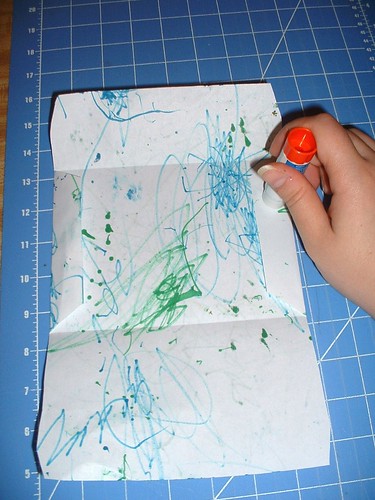
Place your ruler along the inside edge of each flap and use your bone folder to score your fold lines.
(I don’t have a bone folder but I find that the back edge of my exacto knife works just as well if I use very light pressure.)
Fold along your score lines.
Use your glue stick on the two side flaps, and stick your back flap in place.
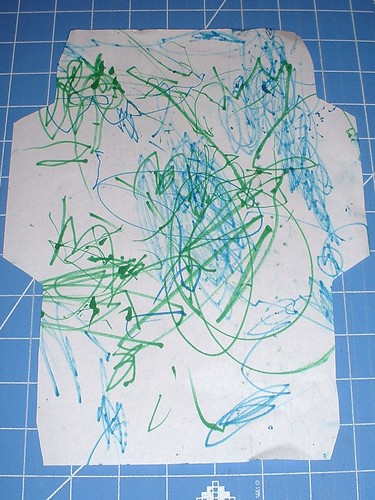
Ta Da! You now have an awesome custom envelope.
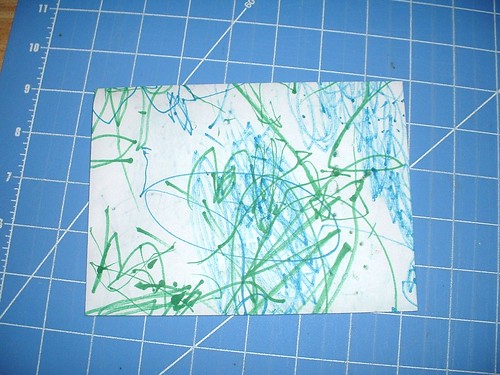
When you are ready to send it just use your glue stick on the flap to seal it and some white labels to write the address.
No comments:
Post a Comment